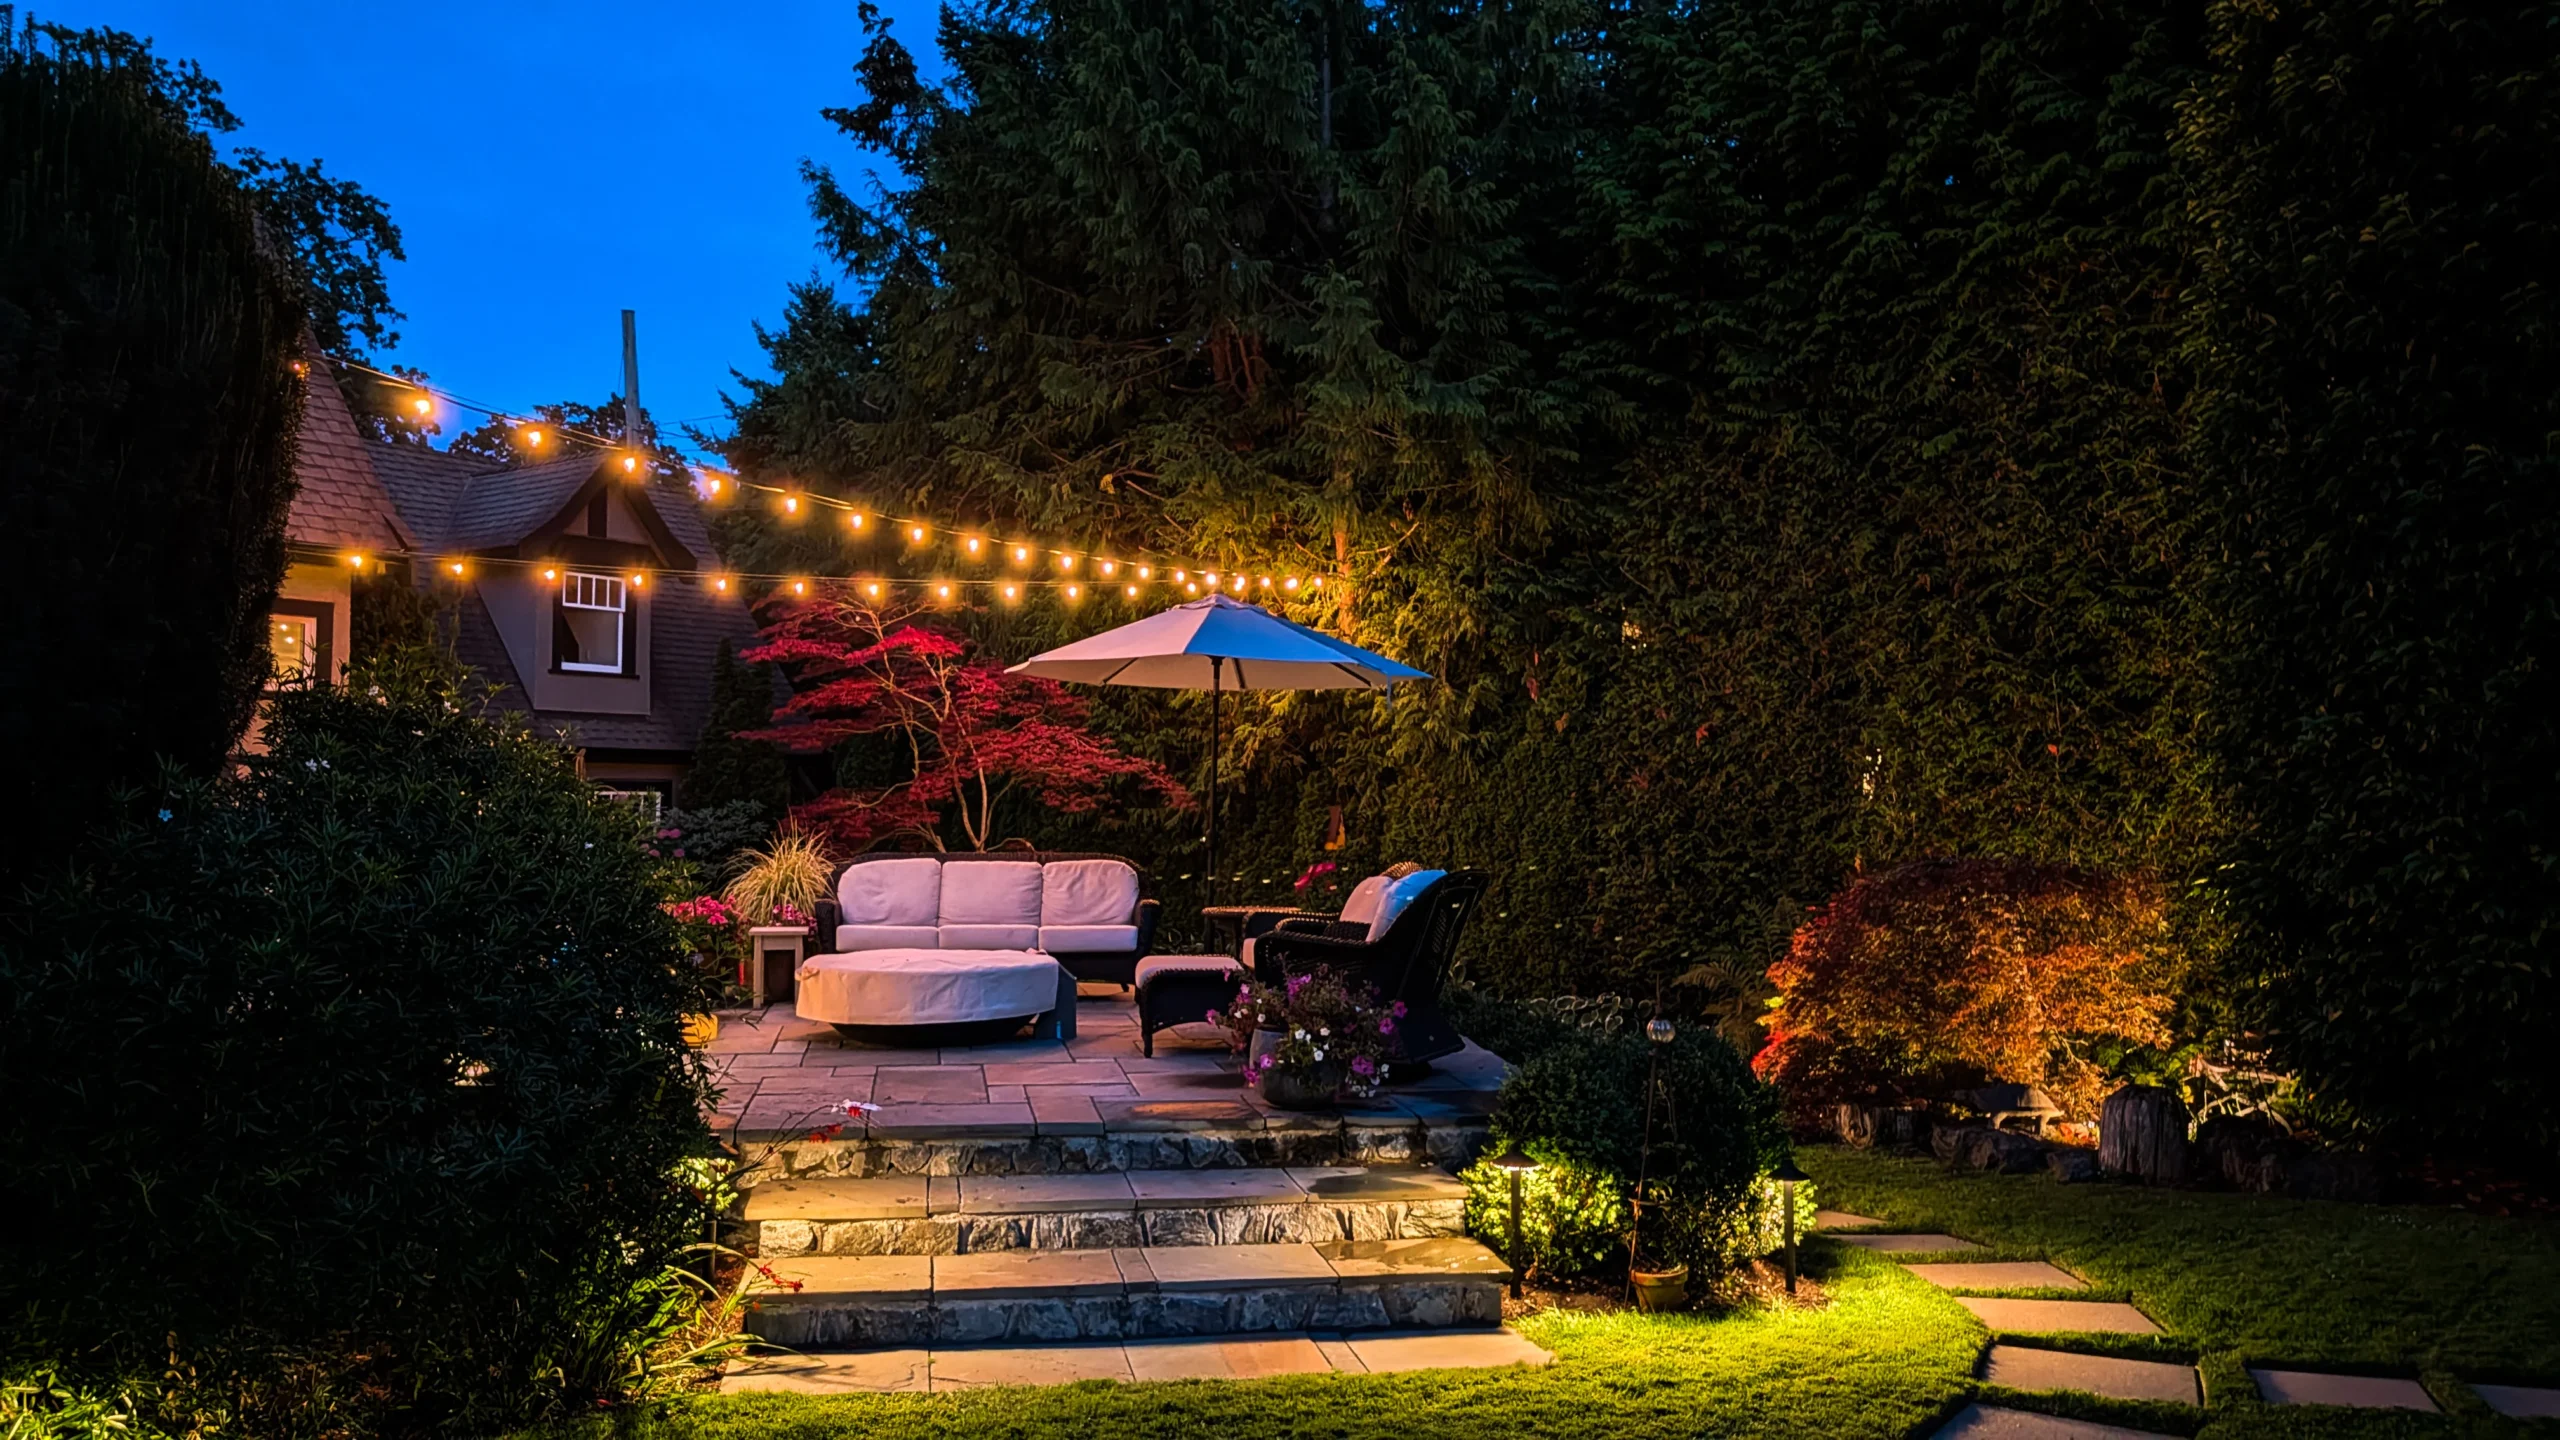
Hiring a professional landscape lighting company should involve more than choosing a few fixtures and waiting for someone to put them in the ground.
A good project starts with understanding the property, what you want to experience after dark, and what the lighting actually needs to accomplish.
From there, the process can involve design, fixture selection, transformer planning, cable routing, installation, coordination with other trades, nighttime aiming and ongoing maintenance.
For a smaller property, that process may be relatively straightforward. A large custom home or estate, however, can involve dozens of fixtures, multiple transformers, mature-tree lighting, recessed driveway fixtures, hardscape integration and several days of installation.
If you are considering professional landscape lighting, here is what you should expect from the process.
Step 1: The Initial Conversation
Before we start talking about fixtures, we want to understand what you are trying to change.
That could be something simple, like improving the arrival experience at the front of the home. It could also mean lighting an entire property with mature trees, gardens, driveways, patios, architecture and outdoor living areas.
Some of the questions we consider are:
- What disappears after dark?
- Which parts of the property matter most to you?
- Do you spend time outside in the evening?
- Are there important views from inside the home?
- Are there pathways, steps or grade changes that need functional light?
- Do you want simple automatic control or more advanced zoning and dimming?
- Do you want to complete the project all at once or potentially phase it over time?
At this stage, the goal is not to determine how many fixtures you need.
It is to understand what the lighting should accomplish.
Step 2: Walking the Property
A site visit tells us things that photographs and square footage cannot.
We look at the property from multiple angles, including how you experience it when arriving and how it looks from inside the home.
We pay attention to architecture, mature trees, planting beds, pathways, hardscape, grade changes, existing power and potential equipment locations.
At the same time, we look for installation challenges such as bedrock, retaining walls, existing driveways, mature roots, long cable runs, irrigation, difficult tree access or areas where cable routing requires more planning.
A landscape lighting design has to work visually, but it also has to be buildable.
Step 3: Deciding What Should Be Lit
This is where the actual design starts.
Not every tree needs a fixture. Not every wall needs to be washed, and not every pathway needs lights every few feet.
Instead, we start identifying focal points and layers.
A large tree may anchor one part of the property. A front entrance may need to draw the eye, while a darker background layer can create depth behind a garden. A pathway may only need enough controlled light to make movement comfortable.
Just as importantly, we decide what should remain dark.
Darkness is part of a good landscape lighting design.
If every surface receives the same amount of light, the property becomes flat.
Step 4: Choosing the Right Fixtures
Once we know what the light needs to do, we can choose the fixture.
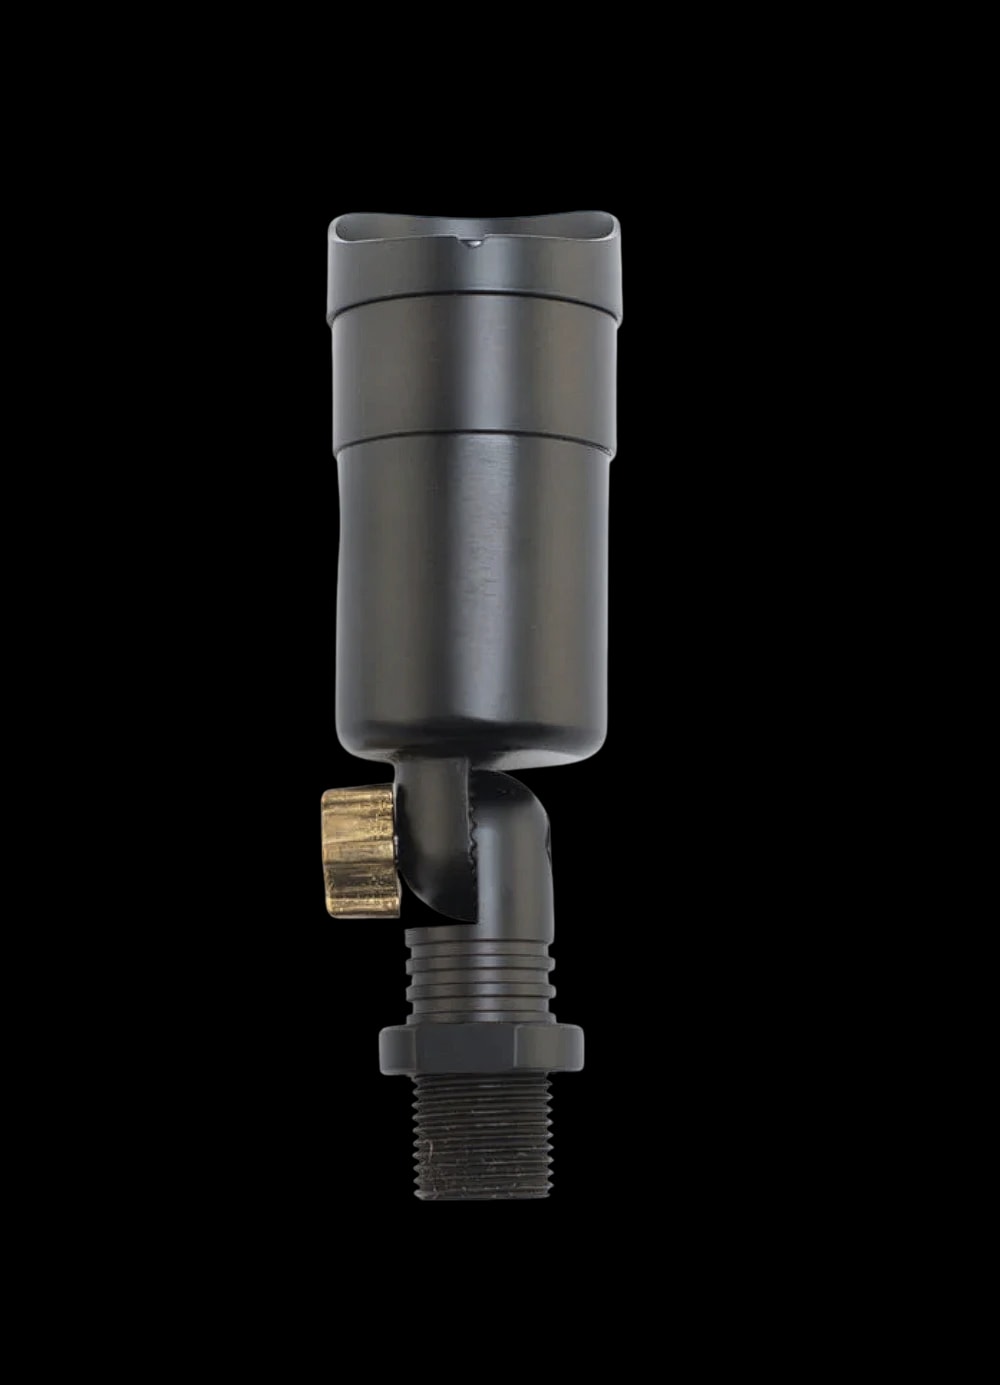
We do not start by selecting one fixture line and forcing it into every application. Tree uplights, path lights, recessed driveway fixtures, well lights and tree-mounted downlights all have different requirements.
Beam angle, output, shielding, material, serviceability and control capability can all affect the decision.
On one project, we may use a solid brass fixture with a replaceable LED lamp in one area and an integrated fixture with more precise optics somewhere else.
If you want to go deeper into that part of the process, read our guide to choosing the right landscape lighting fixtures.
Step 5: Planning Transformers, Cable and Controls
The fixtures are the visible part of the system, but a lot of the important work happens behind them.
We determine how to power the system, where transformers should go, how cable should move through the property and whether multiple zones make sense.
On a smaller project, one transformer may be all that is required. On a larger property, several transformers may make much more sense than trying to feed every fixture from one location.
We also consider cable distance, voltage drop, wire gauge and future expansion.
If the design includes zoning, dimming, tunable white or RGBW control, those features also affect how we plan the system.
A good system should make sense electrically and visually.
Step 6: Identifying Electrical or Specialty Work
Some projects require work outside the normal low-voltage landscape lighting installation.
For example, the property may need a new receptacle or circuit to supply a transformer. A recessed driveway installation may require core drilling, while tree-mounted downlights may require specialized climbing access.
New construction can also require coordination with builders, landscapers or hardscape contractors so sleeves and conduit go in before surfaces are finished.
When those requirements exist, we want to identify them before installation begins.
If the project requires line-voltage electrical work, we coordinate that portion with a qualified electrical contractor.
The goal is to avoid surprises halfway through the project.
Step 7: The Proposal
A proposal should help you understand what we are designing, not just tell you how many fixtures you are buying.
You should have a clear idea of which areas of the property the design addresses and what major elements the project includes.
On a larger property, that may include tree-mounted lighting, recessed driveway fixtures, multiple transformers, separate zones or specialty installation work.
This is also where scope becomes important.
Two proposals with the same number of fixtures can represent completely different lighting systems.
If you are comparing proposals, our guide to what can go wrong with landscape lighting explains some of the questions worth asking before hiring anyone.
Step 8: Preparing for Installation
Once you approve the design and proposal, we can plan the installation properly.
On simpler projects, preparation may be straightforward. Larger properties can require coordination with equipment, specialty access, hardscape work, electrical work or other trades before the crew arrives.
We also think about how to complete the work with as little unnecessary disruption to the landscape as possible.
Landscape lighting cable often needs to travel through established gardens and lawns.
The finished system should look like it belongs there.
You should not look at the property afterward and immediately see where every cable was installed.
Step 9: Installing the System
During installation, we route cable through the property, install transformers and controls, make the connections and position the fixtures according to the design.
Some fixtures are relatively simple to install. Others require considerably more time.
A stake-mounted uplight in an accessible planting bed is completely different from a recessed driveway fixture that requires core drilling or a downlight mounted high in a mature tree.
Because of those differences, fixture count alone does not tell you how long an installation will take.
How Long Does Landscape Lighting Installation Take?
There is no single useful answer.
A focused residential installation may be completed relatively quickly, while a larger whole-property design may take several days. More complex projects can take longer depending on the scope.
Several factors can increase installation time:
- number and type of fixtures
- property size
- cable distances
- transformers and controls
- mature-tree lighting
- recessed driveway or hardscape fixtures
- difficult access
- bedrock or challenging ground
- electrical coordination
- specialty climbing or other trades
For example, an estate-scale system with dozens of fixtures, multiple transformers, tree-mounted lighting and recessed driveway fixtures is obviously not a one-day installation.
That is normal.
The goal should be to install the system properly, not simply to finish it as quickly as possible.
Step 10: Testing the System
Once the crew installs the fixtures and powers the system, we test everything.
We confirm that fixtures operate correctly, transformer loads make sense and controls work as intended.
Even then, one major part of the process remains.
During the day, we still cannot completely judge the lighting design.
That happens after dark.
Step 11: Night Aiming
Night aiming is one of the most important parts of the entire project.
Landscape lighting cannot be completely aimed in daylight. Once darkness falls, we can see what the fixtures are actually doing.
We evaluate beam edges, shadows, reflections, brightness levels and glare.
Sometimes a fixture needs to move. In other cases, we may need to narrow or widen a beam, reduce the output on a tree or slightly adjust a path light.
One area may overpower another.
Occasionally, the best decision is to remove light rather than add it.
The project is not finished simply because every fixture turns on.
Night aiming is where the design comes together.
Step 12: Looking at the Property From Inside
We also believe this part deserves much more attention.
After dark, we look at the landscape through the windows of the home.
A fixture that creates a beautiful effect from the driveway could produce glare from the living room. At the same time, a tree that seems minor from outside might become an important focal point through a large kitchen or dining-room window.
Lighting changes the relationship between the interior and exterior of the home.
The final aiming should consider both.
Step 13: Final Adjustments and Walkthrough
After evaluating the system at night, we make the final adjustments.
The homeowner should also understand the basic operation of the system. Depending on the project, that may include scheduling, zones, dimming or other controls.
This is also a good time to discuss how the landscape may change and which fixtures might eventually need adjustment.
A landscape lighting system does not live in a static environment.
What Happens After Installation?
Plants grow. Trees change. Mulch gets added, gardeners move things and fixtures occasionally get bumped.
Over time, lenses also collect dirt and landscaping can begin to block light.
That is why even a properly installed landscape lighting system benefits from periodic maintenance.
Maintenance may include cleaning fixtures, checking connections, dealing with plant growth and re-aiming lights as the landscape evolves.
The goal is to keep the lighting looking intentional years after installation.
Can a Landscape Lighting System Be Expanded Later?
Absolutely.
Many systems can be designed with future expansion in mind.
You might start with the front of the property and major trees, then add backyard gardens, outdoor living spaces or additional landscape areas later.
Planning ahead makes that much easier.
We can often design transformer capacity, cable routes and controls from the beginning so future phases integrate naturally with the original system.
That is much better than treating every new phase as a completely separate installation.
How Much Does a Professional Landscape Lighting Installation Cost?
Cost varies just as much as installation time.
A focused Light Right project may begin around $5,000. More comprehensive residential designs commonly move into five figures, while large custom homes and estate-scale projects can reach $50,000, $100,000 or more.
There is no meaningful top end because the scale and complexity of properties can vary enormously.
Fixture selection matters, but so do transformers, controls, cable distance, tree access, hardscape, electrical requirements and installation complexity.
For a full breakdown, read our guide to professional landscape lighting costs in Victoria, BC.
What Should You Expect From a Professional Landscape Lighting Company?
You should expect someone to think beyond whether the lights turn on.
A professional process should consider:
- what the property looks like from multiple viewpoints
- what deserves to become a focal point
- where glare could occur
- fixture selection and beam angles
- transformer and cable design
- future expansion
- installation quality
- nighttime aiming
- serviceability
- ongoing maintenance
The exact process may look different from one project to another.
A $6,000 focused installation and a $100,000 estate system should not require the same amount of planning.
However, the principle should remain the same:
The system should be designed around the property, not around a predetermined package.
The Bottom Line
Professional landscape lighting involves much more than the installation day.
The finished result starts with understanding the property, continues through design and fixture selection, and does not really come together until we evaluate the system after dark.
Some projects are straightforward. Others involve dozens of fixtures, multiple transformers, tree work, hardscape, advanced controls and coordination with other trades.
The process should scale with the project.
What should not change is the intention behind it.
The goal is not to install lights. The goal is to create a property that works and feels right after dark.
If you are still deciding whether that investment makes sense for your home, read our guide to whether professional landscape lighting is worth it in Victoria.
Considering Landscape Lighting for Your Property?
At Light Right, we design and install professional landscape lighting throughout Greater Victoria and Vancouver Island.
We start by walking the property, understanding what you want to experience after dark and building the system around that.
Request a landscape lighting consultation with Light Right.